Exploring your network’s devices can unlock many benefits at home and in the office. It’s key to share files or access resources from afar. Knowing your network’s layout is a must.
Today’s networks have many devices to manage. Printers, storage, and other computers are all important. They help make your digital world work smoothly.
Knowing how to find devices on your network makes life easier. It helps with file sharing, remote work, and managing systems. This skill is super useful when you need to find computers fast.
Both home and office setups need good access methods. Learning these techniques helps everyone work better together. It makes accessing the network easy and efficient.
This guide offers easy-to-follow steps for all users. You’ll learn simple ways to navigate your network. It’s designed to make things easy and stress-free.
Understanding Network Fundamentals for Device Discovery
Before you try to find other computers on your network, it’s key to know some basic networking ideas. This knowledge helps you fix problems better and understand why some devices might not show up in your network list.
Defining a Local Area Network (LAN)
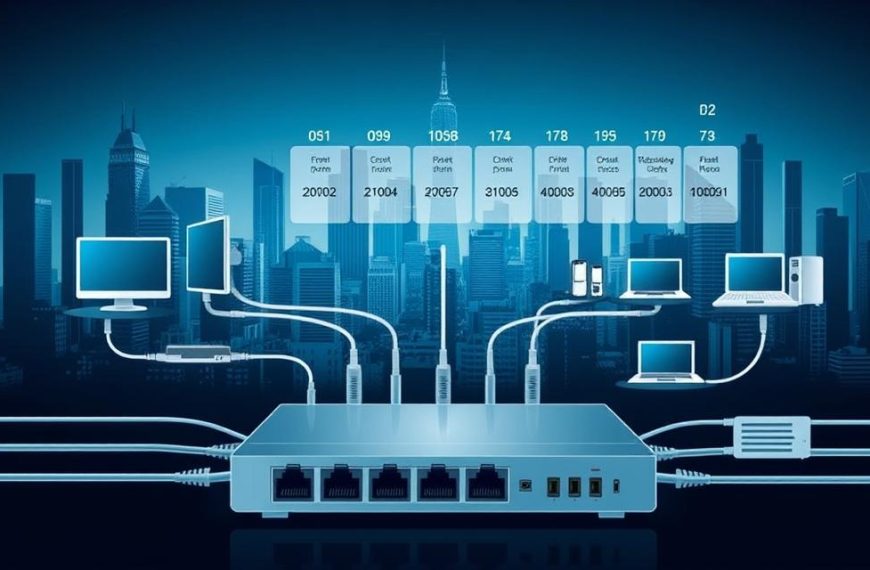
A Local Area Network, or LAN, is a group of computers and devices in a small area. This area is usually your home, office, or building. All devices on a LAN can talk to each other directly, which is how you find devices.
Most home networks use a router to make this LAN. The router gives each device a unique IP address. This lets them share things like files and printers. Knowing what a LAN definition is helps you see why devices need to be on the same network to find each other.
Key Prerequisites: Network Connectivity and Permissions
For device discovery to work, you need to meet certain network prerequisites. Without these basics, finding other computers won’t work.
Two main things are needed: good network connection and the right permissions. These two work together to let devices see and talk to each other on your network.
Verifying All Devices Are on the Same Network
Checking if all devices are on the same network is your first step to troubleshoot. Devices on different networks or subnets can’t find each other easily.
Look at each computer’s IP address to see if they’re on the same network. The first three numbers should be the same for all. For example, if one computer has 192.168.1.15, another should have 192.168.1.x, where x is any number from 2 to 254.
You can check this in your system’s network settings or with tools like ipconfig on Windows or ifconfig on macOS.
Adjusting Sharing Settings on Windows and macOS
Setting up sharing settings right lets your computer see and be seen by other devices. Each operating system has its own way of doing this.
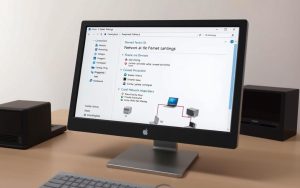
On Windows, go to Network and Sharing Center to turn on network discovery and file sharing. Make sure your network profile is set to “Private” to see devices.
For macOS, check Sharing preferences in System Settings. Turn on File Sharing and set the right permissions for shared folders.
Both systems might ask you to approve sharing through the firewall. Always think about security when you enable these features.
| Operating System | Network Discovery Setting | File Sharing Location | Security Consideration |
|---|---|---|---|
| Windows 10/11 | Network & Internet Settings | Network and Sharing Center | Set network to Private |
| macOS | Sharing Preferences | System Settings | Firewall permissions |
| Both Systems | Network Profile | Advanced Sharing | Password protection |
Remember, changing sharing settings might need a restart of your computer or network devices. Always check your connection after making changes to make sure it’s working right.
Utilising Built-in Operating System Tools
Modern operating systems have strong native tools for finding networks. You don’t need extra software. These tools make it easy to see connected devices and access shared resources on your local network.
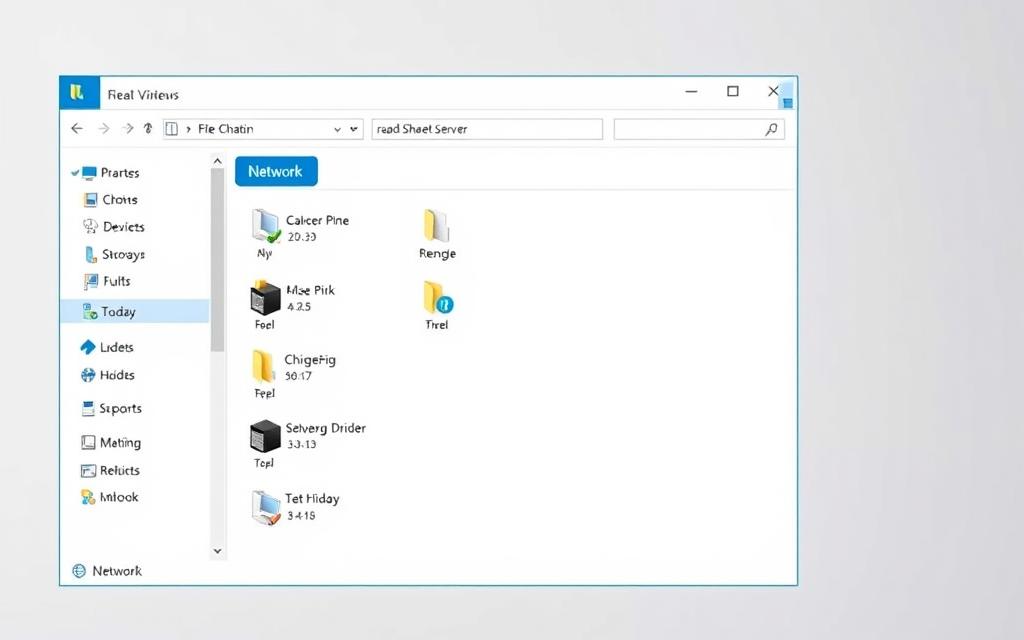
Finding Computers via Windows File Explorer
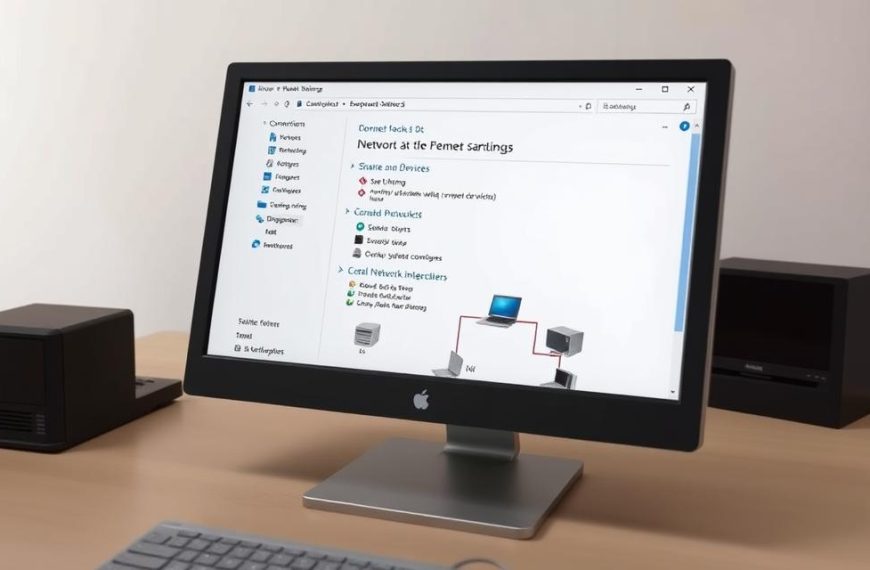
The Windows File Explorer network feature is simple to use. It scans your local network and shows available computers and shared resources. This makes it easy to find what you need.
Step-by-Step Navigation to Network Section
Here’s how to get to the network view:
- Open File Explorer from your taskbar or Start menu
- Select “Network” from the left navigation pane
- Wait a bit for the system to show the device list
- Double-click any computer icon to see its shared folders
When you try to access protected resources, you might need to enter a username and password. This lets you see shared files and directories.
Resolving Common Visibility Issues
If devices don’t show up, try these steps:
- Make sure network discovery is on in Advanced Sharing Settings
- Check if all computers are in the same workgroup
- Ensure firewalls allow network discovery
- Restart the Function Discovery Provider Host service
Fixing visibility issues often means checking different settings. The Windows Network Diagnostics tool can help find and fix common problems.
Locating Devices Using macOS Finder
Apple’s macOS has great tools for finding networks through Finder. It easily finds and connects to other computers and shared resources on your local network.
Accessing Network Locations and Shared Folders
To see available macOS Finder devices:
- Open a new Finder window from your Dock
- Select “Network” from the sidebar under Locations
- Browse the detected computers and network-attached storage devices
- Click the “Connect As” button to log in to shared folders
Finder remembers recent connections for easy access. You can also use Command-K to connect to servers by their network addresses.
Configuring macOS Sharing Preferences for Optimal Discovery
To make sure your Mac is seen on the network:
- Open System Preferences and select Sharing
- Turn on File Sharing and screen sharing as needed
- Set the right permissions for shared folders
- Check the computer name others see on the network
For better visibility issues resolution, make sure your Mac’s firewall isn’t blocking discovery. Bonjour automatically shares your computer’s services with other devices on the network.
How to Find Another Computer on the Network with Command Prompt
Command Prompt is great for finding devices on a network. It’s more powerful than just using a graphical interface. This section will show you how to use command-line tools to find devices and fix network problems on your Windows network.
Step 1: Accessing Command Prompt on Windows
It’s easy to open Command Prompt. Press Windows Key + R, type “cmd” in the Run dialog box, and press Enter. Or, search for “Command Prompt” in the Start menu.
To get the most out of it, run Command Prompt as an administrator. Right-click the Command Prompt icon and choose “Run as administrator”. This lets you use all network configuration commands.
Step 2: Executing IP Configuration Commands
The ipconfig command gives you important network info. It shows your computer’s IP address, subnet mask, and default gateway. These are key for finding devices on the network.
Using ipconfig to Identify Network Details
Type “ipconfig” and press Enter to see basic network settings. For more info, use “ipconfig /all”. This shows details like DNS servers and physical addresses.
Look for these important details:
- IPv4 Address: Your computer’s unique identifier
- Subnet Mask: Defines your network’s size
- Default Gateway: Your router’s IP address
Analysing Output for Connected Devices
After getting network details, use the “arp -a” command. This shows the Address Resolution Protocol cache, listing devices that have talked to your computer.
The arp table shows IP addresses and MAC addresses of nearby devices. This helps find other computers on your local network.
Step 3: Employing Ping and Tracert for Connectivity Testing
Ping and tracert commands check if devices are connected and find network problems. They help see if other computers are reachable and find slow spots in the network.
Practical Examples of Ping Commands
The basic ping command is “ping [IP address or hostname]”. For example, “ping 192.168.1.5” checks if that device is online. Successful pings show reply messages with response times.
Here are some useful ping variations:
- “ping -t [address]” for continuous pinging
- “ping -a [address]” to resolve hostnames
- “ping -n 10 [address]” to send 10 packets
Interpreting Tracert Results for Network Paths
Tracert (trace route) shows the path packets take to reach a destination. Type “tracert [IP address or hostname]” to see each hop to the target device.
Each line in the tracert output is a network device on the way. Response times help spot slow parts of your network path.
| Command | Primary Function | Common Use Cases | Example Output |
|---|---|---|---|
| ipconfig | Displays network configuration | Finding your IP address and gateway | IPv4 Address, Subnet Mask, Default Gateway |
| arp -a | Shows recently connected devices | Identifying local network computers | IP and MAC addresses of neighbours |
| ping | Tests connectivity to devices | Checking if another computer is online | Reply times and packet loss statistics |
| tracert | Maps network path to destination | Diagnosing connectivity issues | List of hops with response times |
Learning these Command Prompt tools makes troubleshooting networks easier. Regular practice will make finding devices and testing connections second nature.
Leveraging PowerShell for Advanced Network Discovery
PowerShell gives you more control and insights into your network. It’s more than just basic tools. This command-line shell is great for detailed network analysis and finding devices.

Initiating PowerShell Sessions
To start with PowerShell, open it with admin rights. Right-click the Start menu and choose “Windows PowerShell (Admin)”. This lets you use network commands fully.
Even regular users can do a lot with PowerShell. But, admin rights unlock even more network analysis tools.
Key Cmdlets for Network Analysis
PowerShell’s strength is in its cmdlets. These tools give you detailed network info and device details.
Get-NetAdapter and Get-NetIPAddress Usage
The Get-NetAdapter cmdlet shows all network interfaces. It gives their status and settings. For IP address info, use Get-NetIPAddress to see addressing on your adapters.
Use these commands together for a full network view:
Get-NetAdapter | Get-NetIPAddress
Listing Devices with Network Discovery Scripts
Network discovery scripts can scan your subnet for devices. This PowerShell script pings all addresses in your network:
1..254 | ForEach-Object {Test-Connection -ComputerName “192.168.1.$_” -Count 1 -Quiet}
This command checks all IP addresses in 192.168.1.0/24. It shows True for devices that respond.
Safety and Efficiency Tips for PowerShell Commands
PowerShell is powerful, but use it wisely. Follow best practices for safe and efficient network exploration.
Avoiding Common Mistakes
Admins often make these mistakes with PowerShell:
- Running commands without admin rights
- Doing too broad scans that slow things down
- Ignoring error messages about permissions
- Not filtering results for what you need
Automating Repetitive Tasks
Here are tips for automating your network discovery:
- Set up scheduled tasks for regular scans
- Make custom functions for common commands
- Save results to CSV for later analysis
- Get email alerts for new device finds
PowerShell’s scripting lets you create complex monitoring solutions. These solutions automatically track network changes and device status.
Employing Third-Party Software Solutions
When native tools don’t cut it, third-party software steps up. These tools offer advanced scanning, detailed device info, and easy-to-use interfaces. They make network mapping a breeze.
Overview of Recommended Network Scanner Tools
Network admins often turn to dedicated scanning tools. These tools have:
- Rapid IP range scanning
- Detailed device info
- Export options for documentation
- Customisable scanning settings
Spiceworks IP Scanner and ManageEngine OpManager are top picks for big networks. For smaller setups, lighter tools work well without hogging resources.
Using Angry IP Scanner for Rapid Device Identification
This open-source tool is a hit among IT pros. It scans IP ranges quickly and gives key device info.
Installation and Basic Scanning Steps
Get it from the official site and install it easily. Open it, set your scan options, and start scanning.
- Put in your network’s IP range
- Adjust timeout settings if needed
- Choose what info to show
- Start the scan
Interpreting Scan Results Accurately
The Angry IP Scanner shows results clearly. Live hosts are green, and missing ones are red. It also shows hostname, response time, and open ports.
Alternative Tool: Advanced IP Scanner Features
This tool does more than just scan. Its easy-to-use interface makes network analysis easy for everyone.
GUI Navigation and Remote Access Capabilities
The interface organises devices by type and status. It has remote shutdown, wake-on-LAN, and RADIUS support for big networks.
| Feature | Angry IP Scanner | Advanced IP Scanner |
|---|---|---|
| Scan Speed | Very Fast | Fast |
| Remote Access | Limited | Comprehensive |
| Export Options | CSV, XML, TXT | CSV, HTML |
| Resource Usage | Lightweight | Moderate |
Troubleshooting Network Visibility Challenges
Even with great tools, some devices might not show up. Common problems include security settings or config errors.
Addressing Firewall and Security Software Blocks
Security apps might block scans to protect networks. Try disabling your firewall or setting exceptions for your tool. Big networks might need admin approval for this.
Correcting Network Profile Misconfigurations
Wrong network profiles can hide devices. Make sure your network is set to “Private” or “Domain” for better discovery. This setting helps devices talk to each other.
Diagnosing Connectivity with Router Administration Pages
Router interfaces can reveal hidden devices. They show all connected devices, even if scanners miss them.
Accessing Router Interfaces for Device Lists
Just enter your router’s IP in a browser to get to the admin panel. Look in connected devices or DHCP client sections for a full list of active devices. This often uncovers devices scanners can’t find.
Renewing IP Addresses to Refresh Connections
If devices show up in the router but not in scans, try renewing their IP addresses. This clears connection issues and makes devices re-establish their network presence. Most routers have release/renew options in DHCP settings.
If problems persist, reboot the device and your router. This simple step often fixes many connectivity issues that affect visibility.
Conclusion
This summary shows how to find devices on your local network. You can use simple tools or advanced software. Each method has its own benefits for different needs.
Finding devices is key for network management today. It helps with sharing files, remote connections, and keeping things organised. These methods are the basics for working well on a network.
Using these tips will make your network easier to see and fix problems. Keep an eye on your network, set up permissions right, and know your tools. This keeps your network running smoothly.
Use these methods every day to get better at your job. Practice with tools like Command Prompt and PowerShell. Also, try apps like Angry IP Scanner. This will help you solve network problems and improve your skills.
FAQ
What is a Local Area Network (LAN) and why is it important for device discovery?
A LAN is a network of devices in a small area, like a home or office. It’s key for finding devices because it lets them talk to each other. This makes sharing files and accessing devices easy.
How can I check if all devices are on the same subnet for successful network discovery?
To see if devices are on the same subnet, compare their IP addresses and subnet masks. Use ipconfig on Windows or ifconfig on macOS. Make sure the first three numbers of the IP address match and the subnet masks are the same.
What are the common reasons devices might not appear in Windows File Explorer’s Network section?
Devices might not show up if network discovery is off or if the network profile is wrong. Firewalls and sharing permissions can also cause issues. Make sure all devices are connected to the same network and sharing is enabled.
How do I use macOS Finder to locate shared devices and folders on my network?
In macOS Finder, go to ‘Go’ and choose ‘Network’, or press Cmd+Shift+K. This shows devices and folders you can share. Go to ‘System Preferences’ > ‘Sharing’ to make sure your Mac is visible and can connect to others.
Which Command Prompt commands are most useful for finding computers on a network?
Use ipconfig to see your device’s IP details. Ping checks if you can reach another device’s IP. Tracert (or traceroute on macOS) shows the path to a device, helping find connection problems.
What are some essential PowerShell cmdlets for advanced network analysis?
Important cmdlets include Get-NetAdapter for network interfaces, Get-NetIPAddress for IP details, and Test-NetConnection for checking connections. These give deeper insights into your network.
Are third-party tools like Angry IP Scanner safe to use, and how do they work?
Yes, tools like Angry IP Scanner are safe from official sources. They scan IP ranges to find active devices. They show IP addresses, hostnames, and response times, making network discovery easy.
How can I troubleshoot devices not being visible even with network scanners?
Check your firewall settings to avoid blocking discovery. Make sure network profiles are set correctly. Also, ensure all devices are on the same subnet. Accessing your router’s page can help review devices and renew DHCP leases.
What should I do if I receive authentication prompts when trying to access a shared computer?
Make sure you have the right username and password for the computer. Check ‘Network and Sharing Center’ on Windows or ‘Sharing’ preferences on macOS. Using the same credentials for all devices makes things simpler.
Can I use these methods to find computers on both wired and wireless networks?
Yes, these methods work for both wired (Ethernet) and wireless (Wi-Fi) networks. Just make sure all devices are connected to the same LAN and are set up for visibility.

