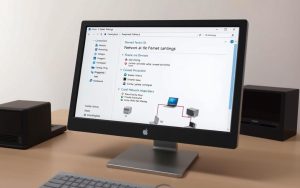
Knowing your computer’s unique identifier on a network is key for many tasks. This computer network identifier acts as your device’s digital ID when connecting with others.
Whether you’re fixing connection problems or setting up remote access, finding your PC’s name helps a lot. Network admins need this info to set up systems right.
Our guide shows easy ways to find device name on network for different operating systems. You’ll see it’s easy to get this info without needing to be a tech expert.
Just follow our simple steps to find your machine’s network name. Knowing this lets you manage your connections better and solve network issues with ease.
What is a Computer Network Name?
Every device on a network needs a unique name to talk to others. This name is like an ID card for your computer. It helps it connect to local networks and the wider internet.
Definition and Purpose of a Network Name
A network name, or hostname, is what makes your computer unique on a network. It’s like a digital name tag that lets other computers find and talk to it.
This name makes networking easier. Instead of using hard-to-remember IP addresses, you can use easy-to-remember names. This is really helpful in homes or offices where many computers share things.
Your computer name helps with things like sharing files and printers. It makes networking simpler, so you don’t have to remember complicated addresses.
How Network Names are Used in Different Operating Systems
Even though the idea is the same, how it works can differ. Windows and macOS use network names but in their own ways.
Windows calls it the “Computer Name“. This name shows up when you look for network resources or connect remotely. You can easily change it through system settings.
macOS is a bit more complex. According to Apple’s guide:
“Your Mac has several identifiers that people may look for on the network: computer name, local hostname (or local network name), and network address.”
The computer name is what most people see. The local hostname is for local network services. This setup helps with different network needs.
Knowing these differences is key when working with both Windows and macOS. It helps everything work together smoothly, keeping each system’s special features.
Why You Might Need to Find Your Network Name
Knowing your computer’s network name is useful for more than just tech talk. It helps when you’re facing connectivity problems or setting up a team workspace.

Common Scenarios for Network Name Usage
Many everyday tasks need you to know your computer’s network name. For example, sharing files between devices is common. You need to know the right device’s name to share files smoothly.
Setting up a network printer is another common task. You need the computer name to connect the printer correctly. This avoids any confusion when printing.
Setting up remote access also requires knowing your network name. Whether you’re using Remote Desktop on Windows or Screen Sharing on macOS, the name helps connect without issues. Tech support often needs this info to solve network problems.
“Proper network identification forms the foundation of efficient digital collaboration in modern work environments.”
For office networks, having unique names is key. Duplicates can cause problems. IT teams use naming rules to keep things clear.
Benefits of Knowing Your Computer’s Network Identity
Knowing your network name has many benefits. It makes troubleshooting easier. If there’s a network issue, finding your computer quickly helps solve the problem.
It also boosts network security. Knowing your device’s name helps stop unauthorized access. This is very important in shared networks.
It also makes communication between devices better. Many apps and services use computer names to connect. Knowing your name ensures these connections work well.
| Scenario | Network Name Requirement | Practical Benefit |
|---|---|---|
| File Sharing | Essential | Direct data transfer between specific devices |
| Printer Setup | Required | Accurate print job routing |
| Remote Access | Critical | Secure connection establishment |
| Network Troubleshooting | Fundamental | Quick problem identification |
These benefits add up to a better and safer computing experience. Whether for personal use or in a company network, knowing your computer’s name is very useful.
How to Find the Network Name of a Computer on Windows
Windows users can easily find their computer’s network name. This is true for both new and old Windows systems. These methods quickly show your machine’s identity.
Method 1: Using Windows Settings
The Settings app is the quickest way for modern Windows users. It works well for both Windows 10 and Windows 11.
Step 1: Open the Settings App
Click the Start menu and find the gear-shaped Settings icon. Or, press Windows key + I to open Settings quickly.
Step 2: Navigate to the System Section
In Settings, click on “System”. This section has key info about your device.
Step 3: Locate the Computer Name Under “About”
Scroll down and choose “About” from the left menu. Your computer’s name is under “Device specifications” as “Device name”. This is your network ID.
Method 2: Via Control Panel
The Control Panel is a classic way to access your computer’s details. It works well for those who prefer traditional methods.
Step 1: Access Control Panel
Type “Control Panel” in the Windows search bar and pick the result. This opens the Control Panel with system tools.
Step 2: Open System and Security
In Control Panel, click on “System and Security”. This shows more options for system settings.
Step 3: View Computer Name in System Properties
Select “System” to see basic computer info. Your computer name is clearly shown under “Computer name, domain, and workgroup settings”.
Both methods are easy to use and show your computer’s network name. The Settings app is modern and convenient. The Control Panel is good for older systems.
How to Find the Network Name on macOS
Apple’s macOS makes it easy to find your computer’s network name. You can use graphical tools or command-line options. Both methods are built into the system.
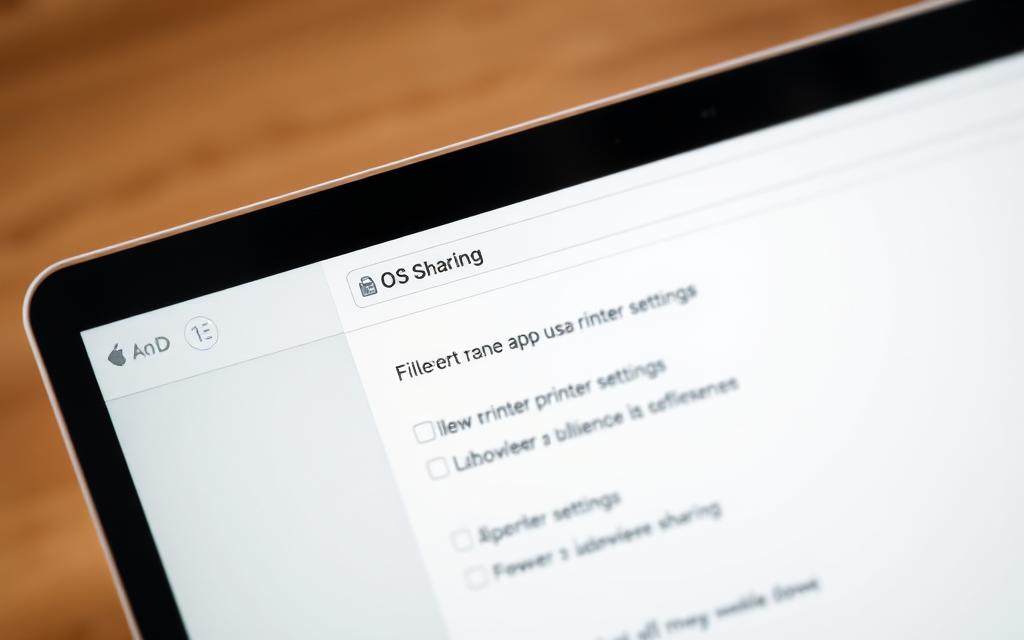
Method 1: Using System Preferences
This method is simple and works on most macOS versions. It gives you quick access to your computer’s name.
Step 1: Open System Preferences from the Apple Menu
Click the Apple logo in the top-left corner of your screen. Then, choose “System Preferences” (or “System Settings” on newer versions).
Step 2: Select the Sharing Preference Pane
Find and click the “Sharing” icon in the System Preferences window. This area controls how your computer connects with others on the network.
Step 3: Find the Computer Name at the Top
Your Mac’s network name is at the top of the Sharing window. This name shows how other devices see your computer on the network.
Method 2: Using Terminal Commands
If you’re comfortable with the command line, Terminal is quicker. It shows your computer’s name without needing to go through many windows.
Step 1: Launch Terminal from Utilities
Go to Applications > Utilities in Finder. Double-click Terminal to open the command line.
Step 2: Type the ‘scutil –get ComputerName’ Command
Type scutil --get ComputerName and press Return. Terminal will show your computer’s name right away.
| Method | Best For | Time Required | Technical Level |
|---|---|---|---|
| System Preferences | Visual learners | 30 seconds | Beginner |
| Terminal Commands | Power users | 10 seconds | Intermediate |
| About Section | Basic information | 20 seconds | Beginner |
On macOS Ventura or later, you can also find your name in System Settings > General > About. The Terminal hostname command works across all macOS versions, making it a solid choice.
Keep in mind, your Mac might have both a Computer Name and a Local Hostname. The Computer Name is used in file sharing, while the Local Hostname is for Bonjour services on your local network.
Advanced Methods: Using Command Line Tools
For those who are tech-savvy, command-line tools are great for finding your computer’s network details. They give you direct access to system info and often show more than standard menus do.
Windows Command Prompt Techniques
Windows has many command-line tools for quickly finding your computer’s network name. These are perfect for system admins and advanced users who need network data fast.
Using ‘hostname’ Command for Quick Results
The hostname command is the simplest way to find your computer’s name. Just open Command Prompt and type:
hostname
This command shows your computer’s network name right away. It’s the quickest way to command prompt find hostname if you just need the basic name.
Employing ‘ipconfig’ for Additional Network Details
The ipconfig all command gives you lots of network info. When you enter:
ipconfig /all
You get your computer name, IP address, DNS servers, and more. This command is great for fixing network problems, not just finding your computer’s name.
For even more advanced tasks, check out the netsh command utility. It has lots of network management features.
macOS Terminal Additional Commands
macOS users can get detailed network info with Terminal commands. These tools give technical users a deeper look at their network setup.
Using ‘networksetup’ for Network Configuration Info
The macOS networksetup command lets you control network settings in detail. To see all network services and their settings, use:
networksetup -listallnetworkservices
This command shows all network interfaces on your Mac. For detailed info on a service, use:
networksetup -getinfo "Service Name"
Replace “Service Name” with the actual name from the previous command. This shows IP addresses, routers, and DNS servers for each service.
These command-line methods are precise and detailed for users who need more than basic network info.
Differences Between Windows and macOS Network Naming
Working across different operating systems means knowing how each handles network names is key. Windows and macOS have their own ways of doing things. This affects how networks are set up and how users experience them.
How Naming Conventions Vary by Operating System
Windows and macOS name networks differently. Windows uses the name shown in System Properties. macOS uses both Computer Name and Local Hostname.
One big difference is in character handling. Windows lets you use spaces in names. But macOS changes spaces to hyphens in local hostnames. This can make it hard for devices to find each other.
Another key difference is the .local domain suffix. macOS adds this to names like “MacBook-Pro.local” through Bonjour. Windows doesn’t do this by default, which changes how devices show up in network browsers.
The way names are registered also varies a lot:
- Windows mainly uses NetBIOS for name resolution
- macOS uses mDNS (Multicast DNS) through Bonjour
- Windows names show up in Network Neighbourhood
- macOS devices are found in Finder’s Network section
Cross-Platform Considerations for Network Identification
Users in mixed environments face special challenges. Windows machines might not show up on macOS networks. And Macs could be missing from Windows views.
To improve visibility across platforms, try these steps:
- Make sure both devices are on the same network
- Enable network discovery on Windows
- Make sure Bonjour is running on macOS
- Use simple names without special characters
How devices are found on networks differs a lot. Windows uses Network Neighbourhood, while macOS relies on Finder’s Network section. This affects how users find and use shared resources.
When fixing connection problems between Windows and Mac, check names are correct. Use tools like nslookup on Windows or dscacheutil on macOS to spot issues.
Knowing these differences helps in mixed environments. With the right setup, Windows and macOS can work together smoothly, sharing resources without problems.
Troubleshooting Network Name Issues
Having trouble with your computer’s network name can be frustrating. But, it’s usually fixable with the right steps. This section covers common problems and solutions for Windows and macOS.
What to Do If You Cannot Find Your Network Name
Start by checking the basics if your computer name isn’t showing. Make sure your network adapter is turned on and working. Also, check if your system has the right permissions to show network info.
For Windows users, check Device Manager. Right-click the Start menu and choose Device Manager. Look for warning symbols in the Network adapters section. If you find any, update your drivers.
macOS users should check System Preferences. Go to Network settings and check your connection status. If problems continue, try creating a new network location from the Location dropdown menu.
Sometimes, general network connectivity problems stop your computer name from showing. Try restarting your router and modem before trying more advanced fixes.
Resolving Duplicate Names on a Network
Duplicate computer names can cause network problems. They can stop file sharing and printer access. This issue needs to be fixed quickly.
To solve duplicate name issues, first list all devices on your network. Check each computer’s settings. Change any duplicate names to unique ones following your organisation’s rules.
On Windows systems, go to System Properties through Control Panel. Click Change settings next to your computer name. Change it and restart when asked.
macOS users can change their computer name in Sharing preferences. Open System Preferences, select Sharing, and edit the Computer Name field. The local hostname will update automatically.
After changing names, restart all devices. Check that each computer has a unique name on the network. This usually fixes most conflicts.
| Troubleshooting Step | Windows Solution | macOS Solution | Effectiveness Rating |
|---|---|---|---|
| Computer name not displaying | Check Network Adapters in Device Manager | Verify Network Location settings | High |
| Duplicate name detection | Use Command Prompt: nbtstat -n | Terminal: scutil –get ComputerName | Medium |
| Resolving naming conflicts | Change via System Properties | Modify in Sharing preferences | High |
| Network visibility issues | Run Network Troubleshooter | Create new Network Location | Medium |
Effective network troubleshooting needs patience and careful testing. Keep a record of any changes to track what fixes issues. This helps you solve problems in the future.
Remember, some corporate networks have naming rules. If you’re in such a network, talk to your network admin before changing computer names.
Conclusion
Knowing your computer’s network name is key for managing networks well. It helps devices find each other easily and makes fixing problems simpler. Our guide shows you how to find this info on Windows and macOS.
We’ve looked at many ways to find your network name. You can use Windows Settings, System Preferences, Command Prompt, or Terminal. Each method is good for different situations, so you can always find what you need.
Now you can handle your device’s network presence with confidence. You’ll be ready to solve connection issues, share files, or keep your network tidy. Knowing your computer’s network name is a big help in many situations.
FAQ
What is a computer network name?
A computer network name, or hostname, is a unique label for your device on a network. It helps other systems find and talk to your computer. This makes tasks like sharing files and printers easier within a local network.
Why would I need to know my computer’s network name?
Knowing your network name is key for many tasks. It helps with file or printer sharing, remote desktop connections, and diagnosing network problems. It also ensures your device is correctly identified on a network, boosting security and troubleshooting efficiency.
How do I find my network name on Windows?
On Windows, you can find your network name in the Settings app (for Windows 10 and 11) or the Control Panel (for Windows 7, 8, and 10). Both offer clear steps to find your computer’s name in system or network settings.
How do I find my network name on macOS?
On macOS, check System Settings (or System Preferences on older versions) under Sharing. You can also use Terminal commands for a quicker way. These commands help access your Computer Name and Local Hostname.
Can I use command-line tools to find my network name?
Yes, both Windows and macOS support command-line methods. On Windows, use the ‘hostname’ command in Command Prompt or ‘ipconfig /all’ for detailed network info. On macOS, Terminal commands like ‘scutil –get ComputerName’ or ‘networksetup’ provide network configuration details.
Are network names the same on Windows and macOS?
Similar but not the same. Windows uses “Computer Name” without special suffixes. macOS often adds a “.local” suffix for Bonjour services. These differences can affect visibility and connectivity in mixed networks.
What should I do if I cannot find my network name?
If you can’t find it, check your network adapter settings. Make sure you have the right system permissions. Also, ensure your device is connected to the network. Restarting your computer or router might solve the issue.
How can I resolve duplicate network names on my network?
Duplicate names cause conflicts. To fix this, change your computer’s name to something unique. On Windows, use System Properties in the Control Panel or Settings app. On macOS, update your Computer Name in Sharing preferences. This ensures smooth communication and avoids connectivity problems.
Is it possible to change my computer’s network name?
Yes, you can change your computer’s network name on both Windows and macOS. On Windows, use System Properties in the Control Panel or Settings app. On macOS, update your Computer Name in Sharing preferences.
Does my network name affect security?
Yes, a unique network name enhances security. It makes it easier to manage authorised devices, monitor activity, and prevent unauthorised access. It’s a key part of network management and security practices.

